Blog

Tutorial: Exploring the World’s Original Take on the Art of Printing
With a foundation laid by VCU’s School of the Arts and with the experience I’ve gained from Go Media, I am excited to present a tutorial on one of the oldest art forms in history: block printing. The procedure for creating printed art has been streamlined and reinvented for over a thousand years. Technological advancements of the 20th century especially have revolutionized the process to the point where few people are willing to engage with their work in such an involved way as with block printing. With this tutorial, I’d like to help people reacquaint themselves with the organic pleasures of custom, handmade artwork.
This traditional printing technique is extremely versatile. It can be used for anything from business cards, to posters, to T-shirts, to swing tags. Whether you work for a small clothing company or whether you’re a freelance designer, being familiar with block printing is a great way to refine your style.
Inspired by Go Media’s roots in illustration and design I wanted to develop a tutorial that highlighted small businesses, specifically in the clothing industry. The goal was to give my work a vintage flair using distinctive elements of illustration and typography. So, without further adieu lets get started:
Step 1: Concept
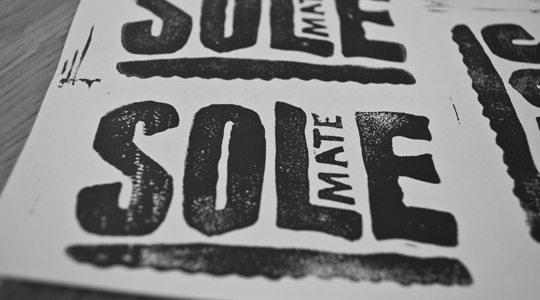
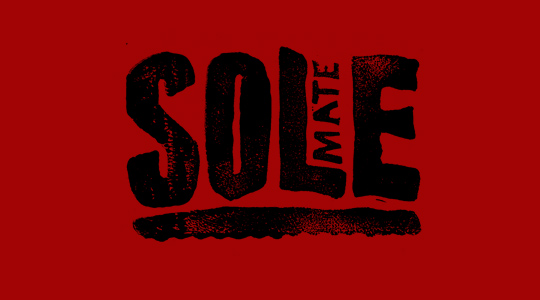
It should go without saying that you must have an idea before beginning any work. Because I am focusing on swing tags, which are used primarily for labeling clothing, I’ve come up with a fictional company that specializes in hand-stretched, quality leather shoes for both men and women. This company is called Sole Mate Co.
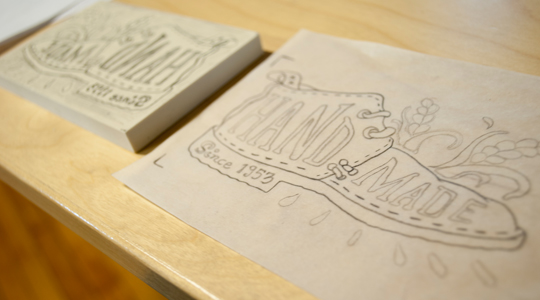
Step 2: Sketches
I have created two illustrations for the purposes of this project. I wanted the front of the swing tag to feature the name of the company with the back containing a custom image of a shoe, one that could potentially be used in other promotional materials. The size of the design is critical – since mine will be fairly intricate, it needs to be on the larger side.

Step 3: Materials
Once you’ve finalized your sketches, you will need to gather the necessary materials. Most of these items can be found at any craft store or hardware store.
– Linoleum block (I’m using a 2 ¾ by 4 inch block)
– Chisel (tip sizes: 1, 2, 5 or equivalent)
– Brayer/roller
– Plastic pan or flat plastic surface (styrofoam also works)
– Water-soluble ink
– Cardstock paper (which will become the swing tag)
– Hole puncher/X-Acto knife
– Tracing paper
– Bone folder or scissors
– Yarn/string


Speedball makes a wonderful kit for block printing that includes all the essentials listed above. Unit price – $20.00
Step 4: Transferring the Design
Using tracing paper, draw over your final design, making sure to correct any lines that may have been skewed during your sketching process. Once you’ve finished tracing, take the paper and place it IN REVERSE on the linoleum block. Transfer the drawing by firmly holding the design in place and rubbing the back of the paper with either a bone folder or the scissors handle. (You can also use your hand). The transfer may not come out perfectly, so be sure to draw over any lines that don’t come out clearly.

Step 5: Carving
Use the chisel to carve all the negative space away—basically everything you don’t want to be printed. This should be a methodical process. An easy way to make sure you don’t carve away the wrong section is to use a marker to indicate which areas should be cut off. TAKE YOUR TIME – taking your time during this stage is essential. Put on your headphones and just focus on what exactly you are cutting away.
Also, be careful! Always carve away from your hand. Remember that larger chisel tips should be used for larger areas and smaller tips should be used for detailing. The amount of pressure you should apply depends on what blocks you use. Some are very stiff, which requires more pressure. I’m using 4 soft linoleum blocks. They’re easy to cut and put less strain on the hand.


Step 6: Prepare Your Surface
I’m printing on cardstock which has been cut, dyed (with black tea), bent, and stressed. In order to get a more vintage feel, you can sand down the edges with either an automatic sander or just a regular piece of sandpaper.


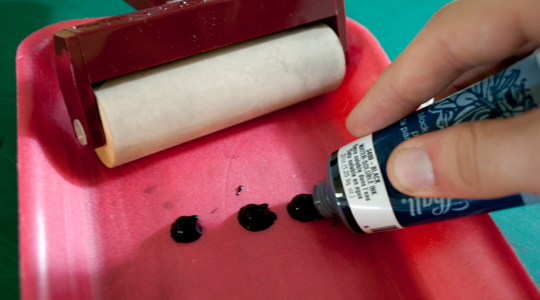
Step 7: Ink
Prepare your surface for inking. Block printing at this size does not require a ton of ink, I’m applying just enough ink to coat the brayer. Next, take your brayer/roller and roll the ink using a horizontal and vertical motion. Get a thick amount of ink on the entire surface of the roller. Finally, roll the block. Because this is a relief print, only the protruding surfaces will have ink on them.


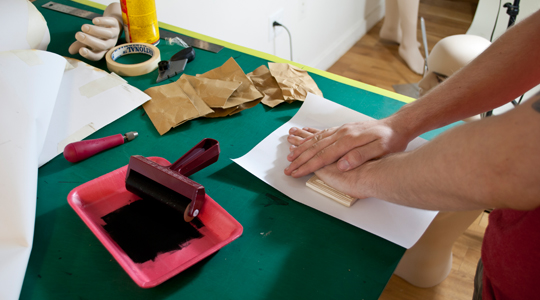
Step 8: Print!
Apply the block to the surface of the paper. The first print will have an excess amount of ink on it; don’t worry, every time you print, the ink will show up less and less. Some prints will be more even than others. Re-ink your brayer as desired.


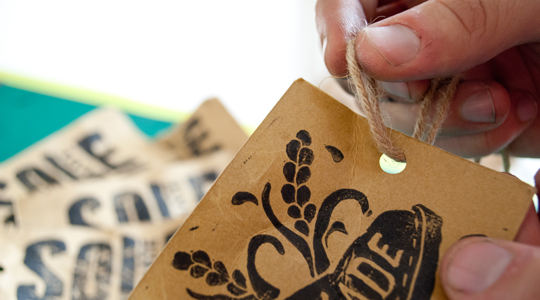
Conclusion:
Congratulations! You have just made a custom block print. Punch small holes and attach string for final presentation. This design can be used as many times as necessary for a wide variety of things. I hope this tutorial was informative and enjoyable. Now go attach the finished tag to a lovely pair of shoes or a shirt or whatever it is you want to show off.
To see more of Kyle Saxton’s work check out his online portfolio.
Article by Alex Rendon and Kyle Saxton.


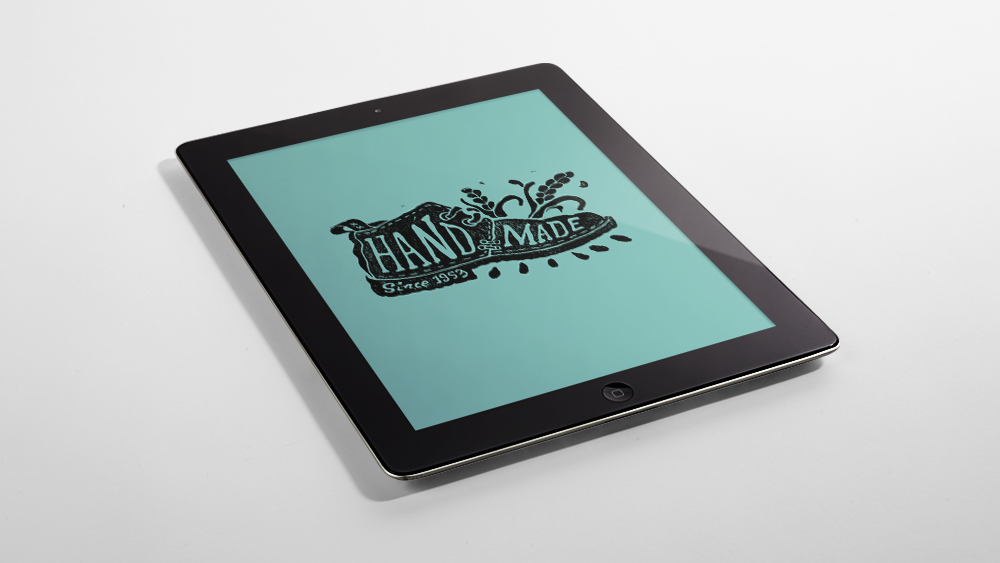
What you can do with your design:
1) Patterns

2) Branding


3) Vintage Effects

4) Identity
Thank you!